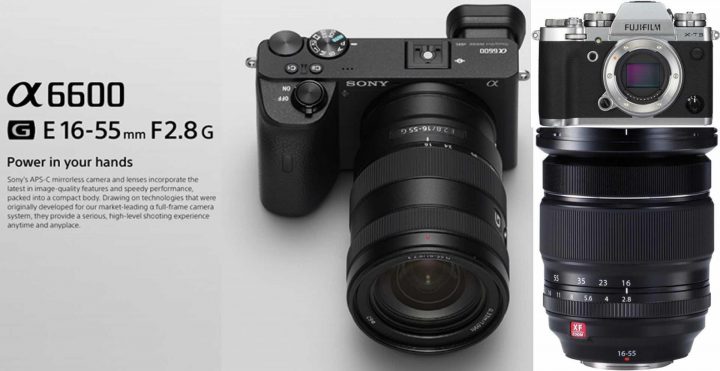
Sony finally did it and released very nice APS-C cameras, the Sony A6600 and the Sony A6100 – full introduction here.
Personally I am very happy about the new Sony cameras, because in the high-end APS-C world, Fujifilm is basically without competition, and Sony is a terrific competitor, that I guess we all very much welcome.
But more than the two new camera bodies, I am particularly happy to see they also announced some interested lenses:
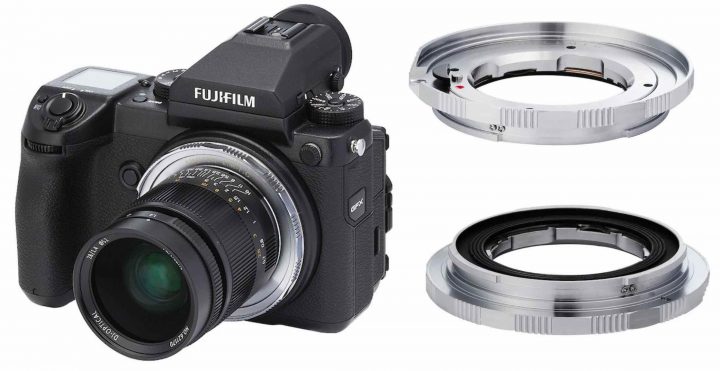
The first one is definitely a Pro lens, and goes right after Fujifilm’s XF16-55mm f/2.8.
The second one is a lens, Fujifilm officially considers to make, and in our huge future lens poll, it makes it into the top 10 of your lens wishes.
With Sony now treating with some fine camera bodies and lenses their APS-C system again, I can only hope that Fujifilm will step on the gas again, too.
In fact, this year, we got only 2 lenses for the X system (and one in the current roadmap for 2020):
Now this 100% confirms what we told you back in 2017, that Fujifilm will release 2/3 lenses for each system (X and GFX) a year.
But now look at the APS-C cameras, Fujifilm released (or will soon release) in 2019:
Now that’s just my opinion, but releasing more cameras than lenses in one year is just wrong.
Fujifilm should focus again on giving us more lenses! And as our recent mega-lens-survey showed, Fuji X shooters definitely have lots of unfulfilled needs there.
So it’s nice to see Sony coming out with some fine APS-C lenses. This might push Fuji to speed up their lens development.