by Rico Pfirstinger
Talk to Rico (questions & feedback) – X-E1 sample images set – X-Pro1 sample images set
Last week, we had a very interesting article by Jan Vogelaar about the performance of Carl Zeiss and Leica M lenses on a X-Pro1. So I guess it makes sense to cover some practical aspects of adapting vintage lenses to your X-Mount camera in today’s X-PERT CORNER column.
One highlight of the X-Pro1 and X-E1 is undoubtedly the small flange-back distance of the X-Mount lens connector at only 17.7mm. This means you can attach practically any third-party lens from other camera systems—with the appropriate adapters—to your X-Mount camera. Manufacturers like Kipon have already announced X-Mount-compatible adapters for more than 40 third-party systems, and the high-quality German manufacturer Novoflex has also dutifully added X-Mount adapters for some 13 established third-party mounts.
The X-Pro1 is not a rangefinder camera. It’s a pure-bred autofocus camera and as such—despite its hybrid viewfinder—it is only marginally equipped to work in combination with manual focus lenses. Currently, the only tool that the X-Pro1 and X-E1 feature to assist with manual focusing is a magnified digital viewfinder. The camera also offers some kind of focus peaking when you magnify the viewfinder image: It will enhance contrasty edges, indicating that they are in-focus.
Unfortunately, there are a few further aspects that render the X-Pro1 and X-E1 not yet perfectly equipped for working with third-party lenses: When a lens is attached to the X-Pro1 via an adapter, Auto-ISO operates with a minimum shutter speed of 1/30 second—independently of the actual focal length that was set in the adapter menu. 1/30s may be too fast for many wide-angle lenses and too slow for most standard and telephoto lenses. The cameras also set the minimum flash sync speed at a fixed 1/15 second when a third-party lens is attached, which is largely useless for lenses with larger focal lengths. In other words, the cameras “know” exactly what the current focal length is, but doesn’t use this information to the benefit of the photographer.
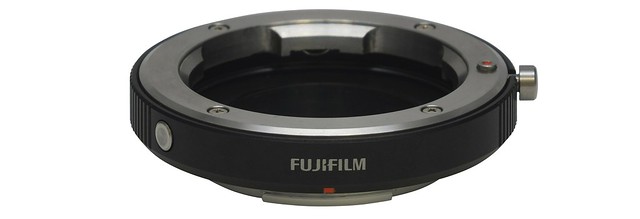
Fuji’s own Leica M mount adapter (pictured above) includes X-Mount signal contacts as well as a function button on the adapter ring that brings up the adapter menu on the monitor or in the viewfinder. Furthermore, this adapter unlocks extra camera functions that allow you to correct several optical errors such as vignetting, distortions, or color shifts at the borders of an image. However, due to these extra contacts occupying extra space, Fuji’s own adapter is not compatible with all M lenses. Fuji maintains a compatibility chart showing which lens will fit and which will not. The adapter also comes with a gauge that will tell you if a particular lens that’s not on the chart will fit.
In the X-Pro1, the display frame for the OVF uses the selected focal length setting from the adapter menu (SHOOTING MENU > MOUNT ADAPTER SETTINGS), as long as it’s between 18 and 60 millimeters. Focal lengths less than 18mm are indicated in the optical viewfinder with yellow arrows in the corners, and focal lengths of greater than 60mm, with a red frame calibrated to 60mm.
Within the acceptable range of focal lengths for the OVF—18mm to 60mm—two frame indicators will appear in the viewfinder: one white, one blue. The white frame is corrected for parallax for objects at infinity and the blue frame, for objects at a distance of about two yards.
Third-party lenses that are attached to the X-Pro1 or X-E1 over an adapter can only be focused manually. The only exposure modes that are available are the aperture-priority (A) and manual exposure (M) modes. Other functions such as auto ISO, TTL flash, and DR extension, however, are still available.
Connecting and Recognizing Third-Party Lenses
After you have mechanically attached a third-party lens to your camera via an adapter, you should first make sure that SHOOTING MENU > SHOOT WITHOUT LENS > ON is selected—otherwise your X-Pro1 won’t take any pictures. Using Fuji’s own M adapter will automatically enable and grey-out this option for you.
Next go to SHOOTING MENU > MOUNT ADAPTER SETTINGS. Here you will have six lens settings to choose from: four focal length presets (21mm, 24mm, 28mm, and 35mm) as well as LENS 5 and LENS 6—two focal lengths that you can set manually.
If you happen to be using an M-adapter from FUJIFILM, you will also have a number of correction settings available, which I’ll cover in part two of this article.
Focusing with Third-Party Lenses
The only way to focus precisely when using a third-party lens is to use the magnified display of the electronic viewfinder (EVF) or the LCD monitor. Your camera will need to be in manual focus (MF) mode, so turn the focus mode selector on the front of the camera to M. As usual, you can magnify the digital displays by pressing the command dial.

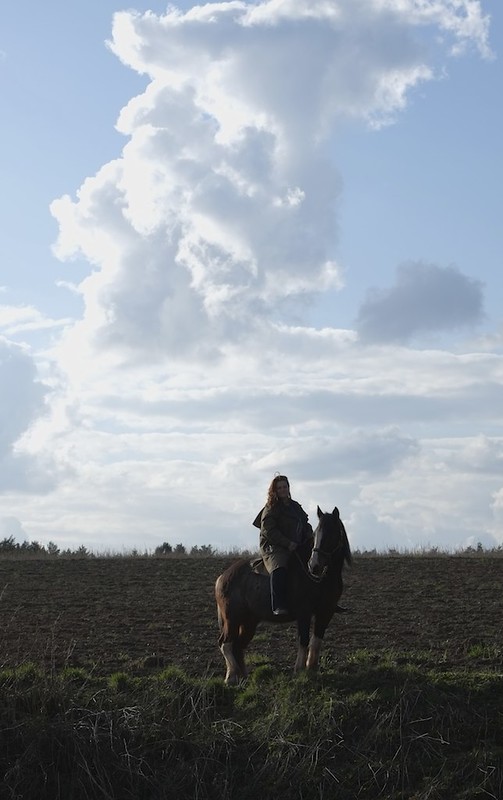
The sample shot above was taken with a (probably) at least 20 years old Carl Zeiss Sonnar T* 180mmF2.8 MM-G C/Y lens and a no-name C/Y > XF adapter. It’s an OOC JPEG shot with an X-E1 (using the internal RAW converter as described here) and post-processed with Apple Aperture. To preserve and enhance the pleasing vintage look, colors and gradation of such “analog” lenses, I often use film simulations from VSCO (available for Lightroom, Photoshop and Aperture) as starting points. I took the picture at open (or almost open) aperture and focused with the 3x magnifier tool. Click on the image for a higher-res view and more exposure parameters.
To focus as exactly as possible, you’ll want to open the aperture as wide as possible. The reduced depth of field will help you to find the correct focus point. After you’ve found it, you can then close the aperture to your desired setting. The focus point should not move, but the depth of field should become larger. You can observe this effect in the EVF. The viewfinder’s distance and depth of field indicators will be nonfunctional. Of course, you need be careful with this method when using a lens that shifts its focus plane on changing the aperture. This often occurs in spherically under-corrected lenses that feature nice background bokeh (and harsh/swirling foreground bokeh). With such lenses, you may be better off focusing with the actual working aperture of your shot.
To refine your focus at any time you can always reactivate the magnified digital display. Well, almost at any time: the magnified display will not be available while the camera is transferring data from the buffer memory to the memory card. As soon as that finishes, you can activate it again. Let’s hope that Fuji takes care of this annoying quirk in future firmware updates. In the meantime you can make do with a bit of patience and a super-fast memory card.

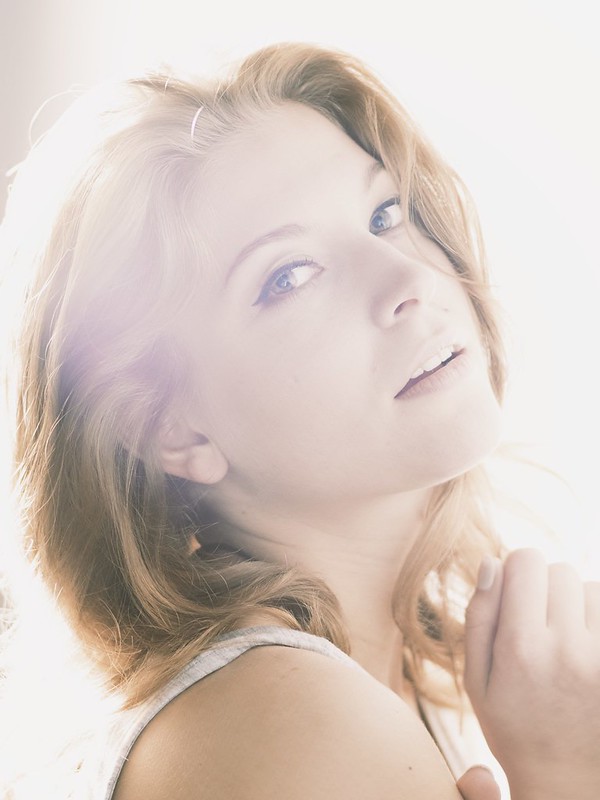
The image above is a sample shot with a [shoplink 8026 ebay]Voigtländer Heliar F1.8/75mm[/shoplink] with M Adapter. It was shot with a Kipon M adapter and developed from the RAW in Silkypix 5, no further post-processing and no VSCO Film. Click on the image for larger views and more exposure parameters. Here’s another sample with the Voigtländer, shot at f/2.8 with a single studio flash from above:
Exposing Correctly with Third-Party Lenses


